When you come across an issue in your store, there are several simple steps that you can take yourself to troubleshoot it. In many cases, these steps will help you find the cause and even fix the issue. For example, if you change a store label, but still see the default label in the storefront, clearing the browser cache will resolve it. If the store doesn’t load for you, but other users see it, check your internet connection and try using another connection to see how the store opens there.
Below you will find several general troubleshooting steps that you can apply to most issues. You might also want to write down the results as you follow the steps. You can do it in any text editor on your computer. These notes will be helpful if steps don’t solve the issue and you will want to report it to the Netcash Shop Customer Care team for further examination. Your notes will help us understand the issue better and speed up the investigation.
- Step 1. Clear cache and cookies
- Step 2. Disable browser extensions
- Step 3. Disable antivirus
- Step 4. Use another internet connection
- Step 5. Report an issue to Netcash Shop
Step 1. Clear cache and cookies
Cache and cookies are the info from visited websites stored on your computer to make these websites load faster for you. Also, that refers to stored passwords, logins, etc.
To clear cache and cookies in a browser:
- Click on the three dots in the right upper corner of the Chrome browser.
- Click More tools → Clear browsing data.
- Select the Time range.
- Tick “Cookies and other site data” and “Cached images and files”.
- Click Clear data.
Next step: After you clear cache and cookies, refresh the storefront page. If the issue is gone after that, it looks like you saw the issue because of cache and cookies in the browser. Once you’ve cleared them, your website should work fine.
Step 2. Disable browser extensions
Extensions add extra functionality to a browser and they interact with websites that you visit. Sometimes a conflict may happen between an extension and a website and a website may look or work incorrectly.
To disable extensions in a browser:
- Click on the three dots in the right upper corner of the Chrome browser → More tools → Extensions.
- Click on the toggle to disable an extension.
- If you have several extensions, disable them one by one and refresh the storefront to see if the issue is gone after each disabled extension.
- After you’ve checked all the extensions, you can enable them back.
Next step: If you notice that the issue is gone after you disable an extension:
- Delete the extension if you don’t use it. Probably, you installed it long ago and it’s not supported nor updated by the extension developer.
- If you want to keep using the extension, email us its name. We’ll check if there is anything that can be done from our side to fix this issue.
Step 3. Disable antivirus
If you don’t use any antivirus, skip this step.
The antivirus program may be blocking some resources when you open a website. To check if that is the cause of your issue, please temporarily disable your antivirus system and refresh the website page. You can usually find an option to temporarily disable antivirus in its settings. The instructions would depend on the antivirus you use. If you can’t find it, please check the antivirus website for instructions.
Next step: If you notice that the issue is gone with the antivirus disabled, please record a HAR file. Email us the file and the name of your antivirus system. We’ll check what’s causing the conflict and how to fix it.
Step 4. Use another internet connection
Internet providers sometimes may block some resources on the internet. Because of that, you may have issues with opening some websites or loading its parts.
To check whether your internet connection affects the work of a website, try using another internet connection, e.g. use wi-fi in a cafe or your mobile internet.
Next step: If you find out that the issue happens only with your internet provider, please contact their support team for further help. Please, let us know if you find out that some of the Netcash Shop resources get blocked by your internet provider. We’ll take further actions to fix it.
Step 5. Report an issue to Netcash Shop
If you’ve tried all the above steps and the issue still happens, please report it to the Netcash Shop Customer Care team for further investigation. To help us understand your issue and its cause, please email us the following details:
- Your device and browser info — https://www.whatismybrowser.com/
- The results that you got when you followed the steps above
- The steps you take when you see the issue on your website
- HAR file — this file shows the processes that happen in the browser. It shows what resources load, which of them are blocked, how long the loading takes, etc.
Getting a HAR file
You can easily get a HAR file and also some other info about your issue in the Google Chrome browser using the free extension called Bug Recorder. It’s two clicks for you (to start recording and stop it) and here is what info will be recorded:
- A HAR file
- A screencast
- Browser console (it shows if any errors occur during the issue that you report)
To collect the info about an issue with the Bug Recorder:
- Install Bug Recorder (it’s free) to your Google Chrome browser.
- Open the store page where the issue that you want to report happens.
- Click on the Bug Recorder icon → Start recording.
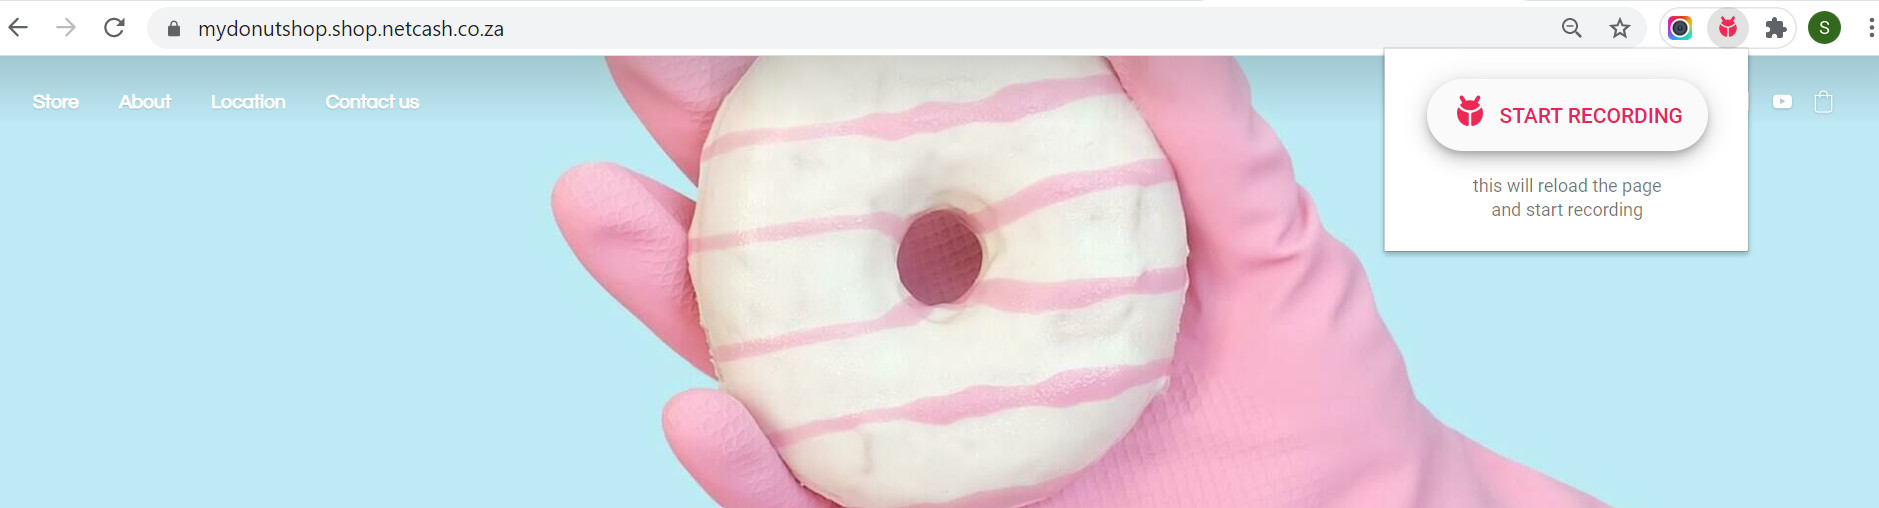
The page will reload and the recording will begin.
- Take the steps to see the issue on the page.
- Once the issue happens, click Stop recording.
You will see a bug.zip archive on your computer, in the downloads folder. It will contain a HAR file, screencast, and console recordings. Send us that archive and we will do further troubleshooting.
Alternatively, you can record a HAR file using the in-built browser tools. Please find the instructions for the different browsers below.
To generate a HAR file in Google Chrome:
- Open Google Chrome and go to the page where the issue occurs.
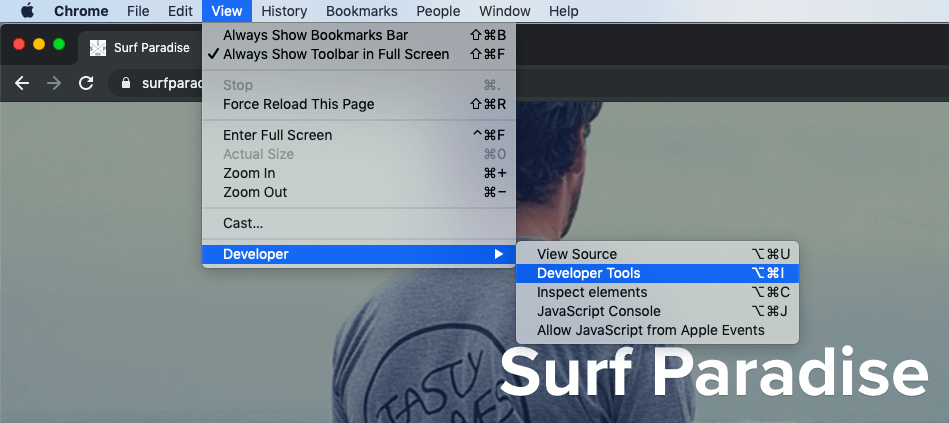
- In Chrome’s menu bar, select View → Developer → Developer Tools:
- From the panel that opens at the bottom of your screen, select the Network tab:
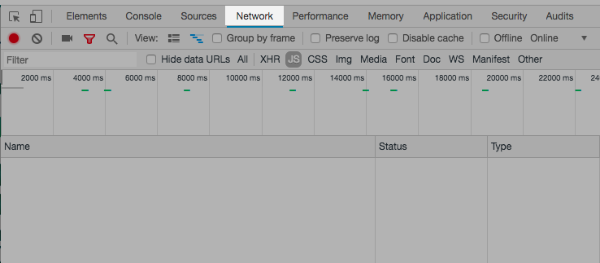
- Check to make sure the Record button (
 ) in the upper left corner of the Network tab is red. If it is grey, just click it to start recording:
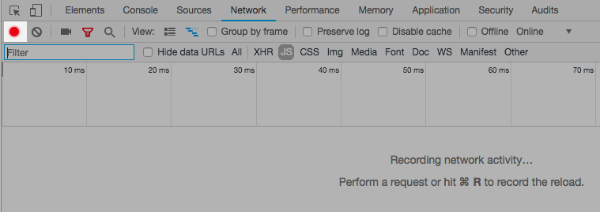
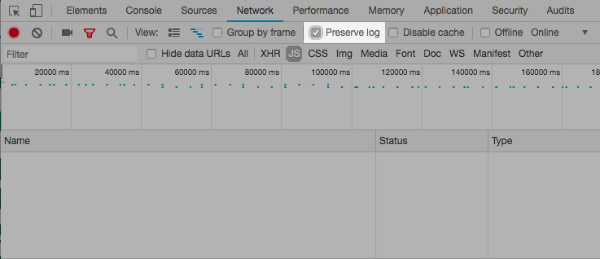
- Enable the option Preserve log:
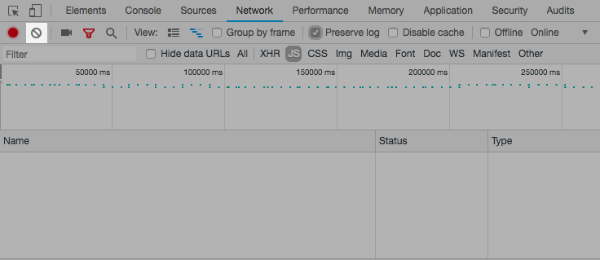
- Click the Clear button (
 ) to clear out any existing logs from the Network tab:
- While you’re recording the network requests, reproduce the issue you experienced.
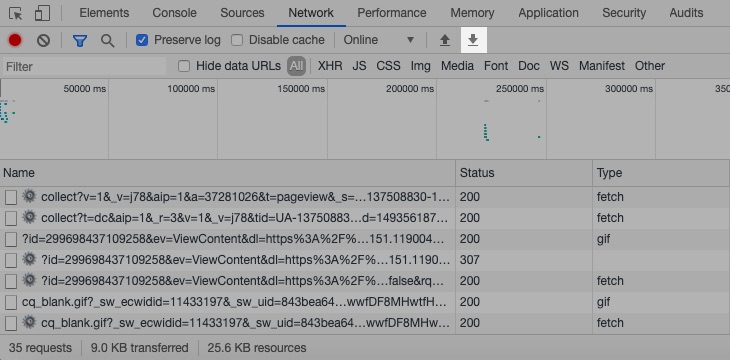
- Once you reproduce the issue, save the HAR file to your computer by clicking on the ⇩ sign (or use the right-click menu):
- Send us an email with the HAR file attached and with the subject line “Network issue, HAR attached”. We’ll look into the issue and get back to you right away!