1. Home
  2. Docs
  3. Promoting your shop
  4. Marketing
  5. Sending newsletters with MailChimp

Sending newsletters with MailChimp

Keep in touch with your existing and potential customers by sending marketing emails and newsletters with the help of Mailchimp. The following store data is synced with Mailchimp: customers, products, orders, discount coupons, and abandoned carts. This info allows you to send personalised emails and send appropriate offers depending on the customer’s purchase history.

You are able to use other Mailchimp marketing tools to grow your business: create ads for Facebook and Instagram, publish and schedule posts for Facebook, Instagram, and Twitter, and add an email capture popup to your store. You can see all these options in your store admin > Marketing > Newsletters after you connect the Mailchimp account to your online store.

Connecting Mailchimp to your online store

  1. From your store admin, go to MarketingNewsletters.
  2. Click Connect Mailchimp or click Sign up Free below the button if you don’t have a Mailchimp account yet.
  3. Follow the wizard steps:
    • Choose Mailchimp audience. Customers from your store will automatically get to the connected audience. Those who do not opt in for your emails will be transferred to the Mailchimp audience as unsubscribed members. You can send them only ads, postcards, and transactional emails like order notifications.
    • (Optional) Export your current store data to Mailchimp. This way you will see everything you know about your customers in your Mailchimp account which will let you add a personal touch to your email campaigns.
    • (Optional) Connect your site to Mailchimp. This will allow you to set up Mailchimp’s pop-up signup form on the connected site that will prompt customers to opt in for your emails. And it will let you set up retargeting emails in Mailchimp to remind customers of your store and encourage them to place orders.
    • That’s it! After you finish the steps, you will see the name of the Mailchimp account that you’ve connected.

Also, from this page, you can go to your Mailchimp account to create your newsletter campaign, set up ads, create social posts, and add a signup pop-up form.

Refer to Mailchimp guides and tutorials for more details:

Creating an email campaign

After you’ve connected Mailchimp to your online store, you can send out newsletters. To do that, you will need to create an email campaign in your Mailchimp account.

To create an email campaign:

  1. From your store admin, go to MarketingNewsletters.
  2. Click Create Newsletter. You’ll be taken to the Mailchimp website.
  3. Choose the type of email campaign you want to create: regular, automated, or plain-text. Learn the difference between these types of campaigns in Mailchimp’s guide: Getting Started with Campaigns.

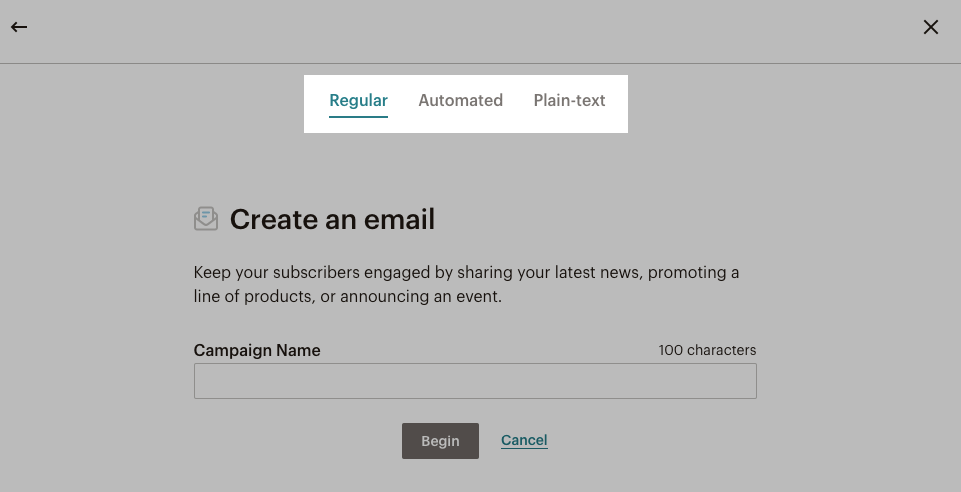
  1. Enter Campaign Name.
  2. Click Begin.
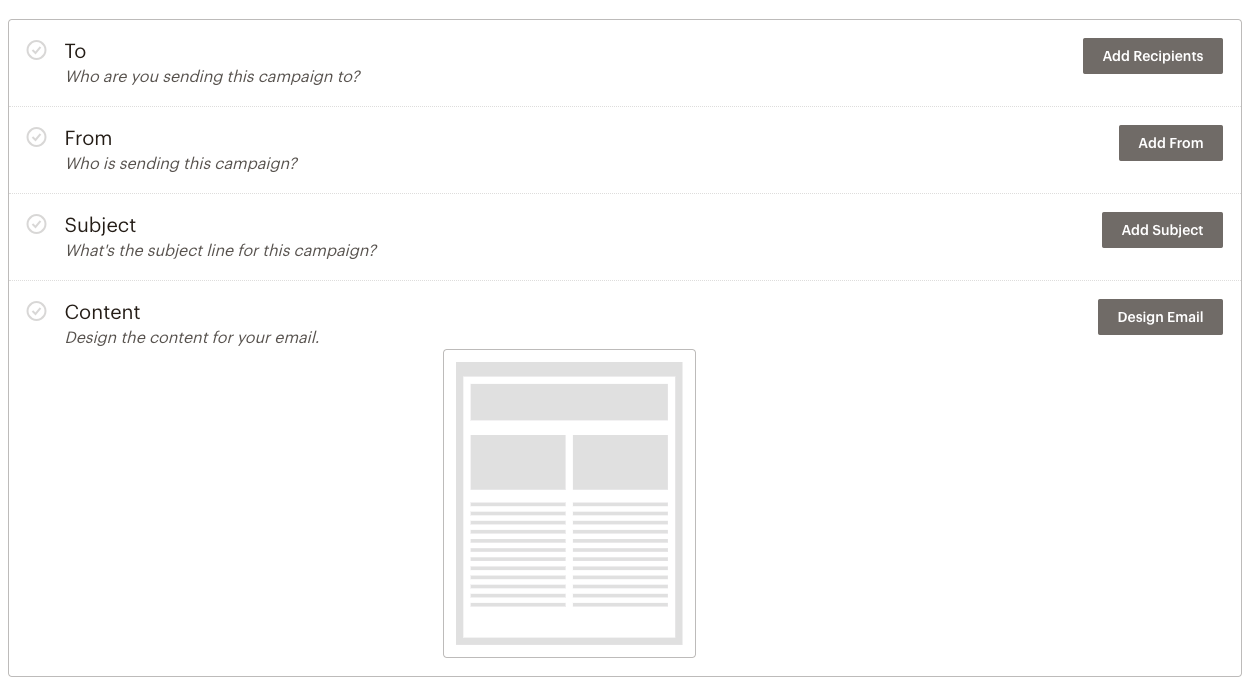
  3. Set up your email campaign. You’ll see Mailchimp’s hints at every step of the setup:

  1. Preview and test your email campaign.
  2. Click Schedule and choose when you want the email to be sent out or click Send to send the emails straight away.

That’s it! Your email will be sent out.

Send newsletters at least once a month to keep in touch with your customers, but not more often than once a week.