Adding a shopping cart icon
In the Netcash Shop application for Wix you can choose from the two Shopping cart icons:
- Shopping cart icon with fixed position
This shopping cart can be added to any page of your website and will be sitting in the fixed position on the page. It is suitable if you want to always display the Shopping cart in the same place on the page, e.g. in the header or sidebar section.
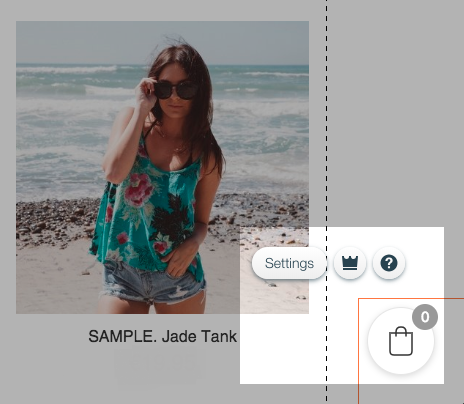
- Floating Shopping cart icon
When enabled, the floating Shopping cart icon will be pinned the page corner and follow you as you scroll the page. Note that Wix doesn’t display floating elements in the mobile view, so the floating shopping cart icon will appear only on widescreens.
To add a Shopping cart icon:
- Log in to your Wix Website Editor and navigate to the Pages menu.
- Select the page where Netcash Shop is installed.
- Click on the store area and then – on the Settings button.
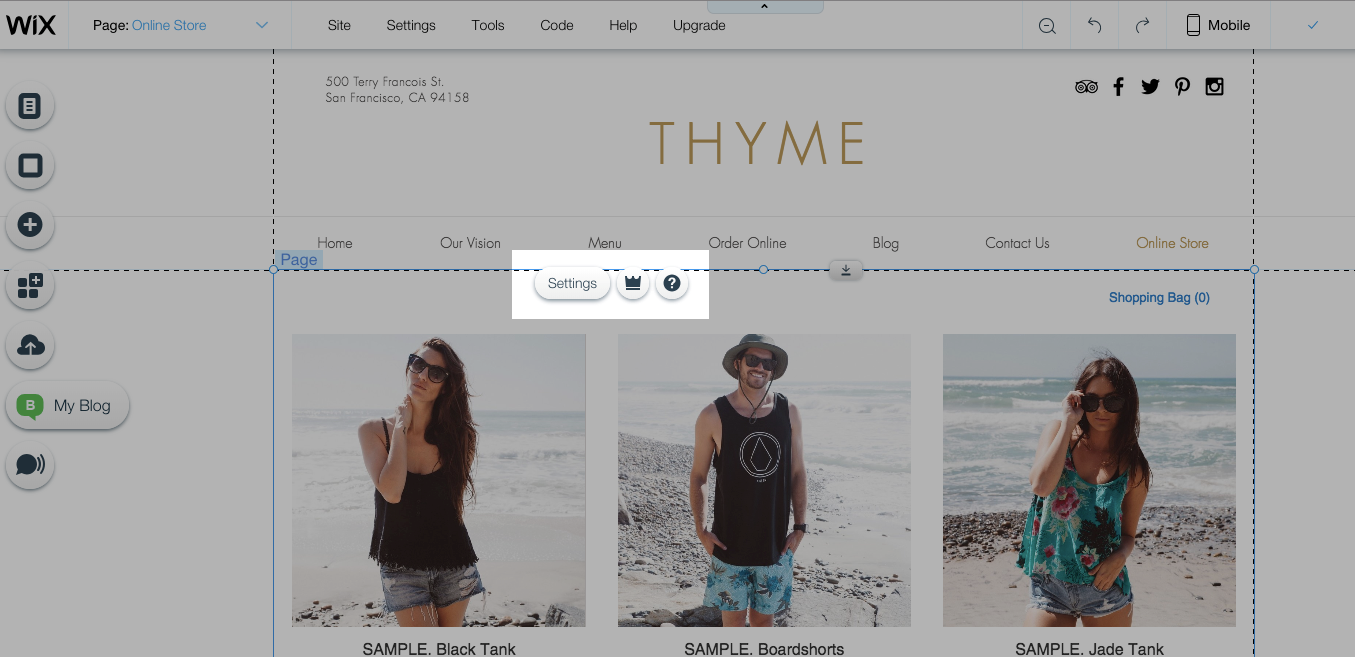
- In the Online store pop-up click Add-ons.
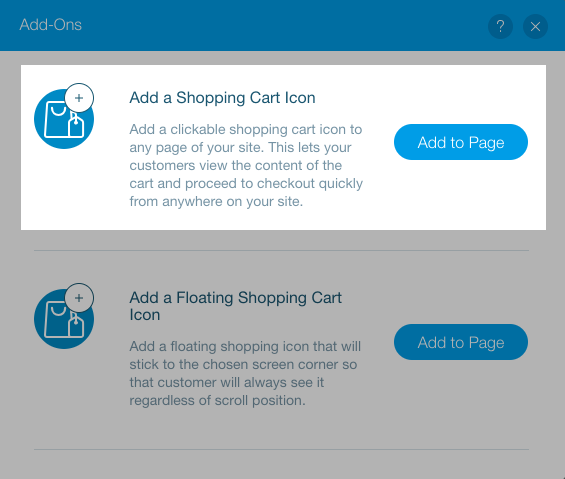
- Click Add to Page in the Add a Shopping Cart Icon section, if you want to add it to a particular place on the page. Manually drag the widget to the desired area.
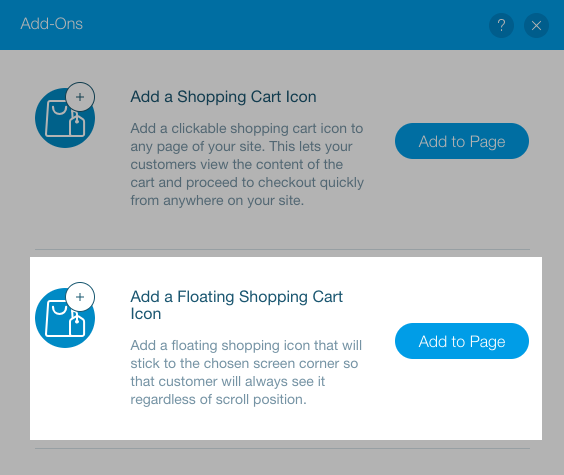
- Click Add to Page in the Add a Floating Shopping Cart Icon section, if you want it to float in the page corner. Keep in mind, that this cart icon will not show on mobiles.
- The Shopping cart icon with default appearance will be added to your website.
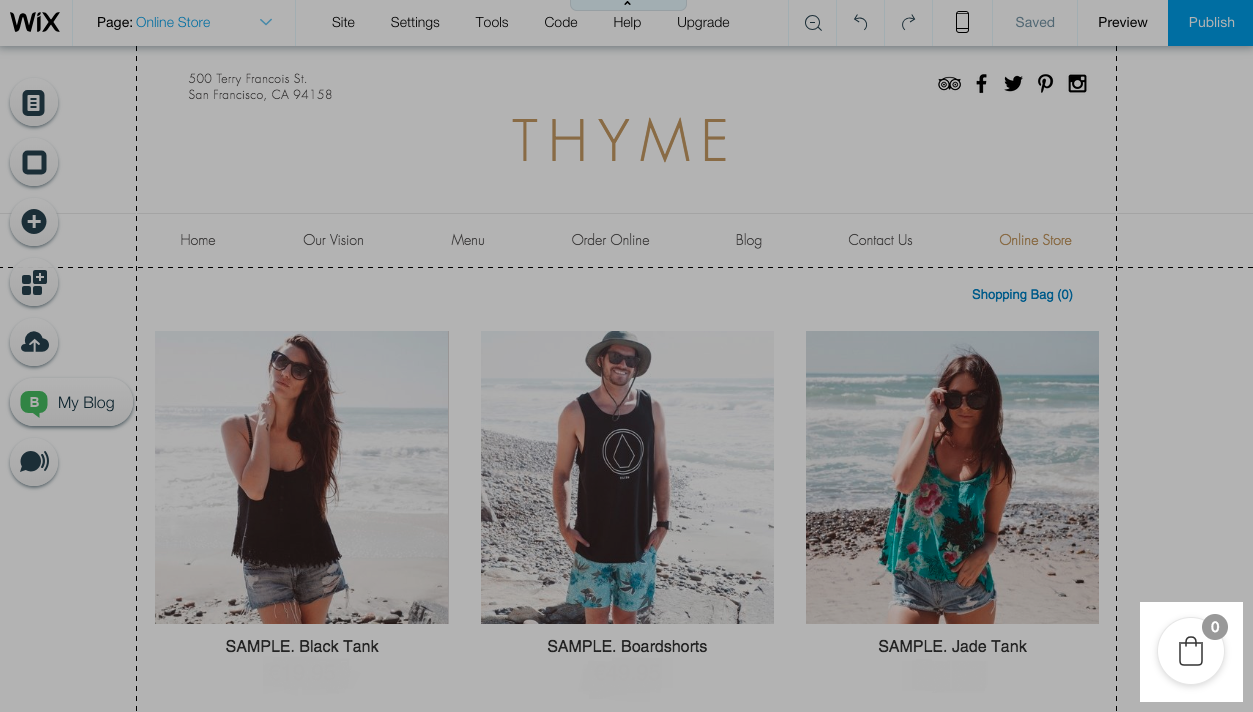
- Publish the website to apply the changes.
Customizing shopping cart icon design
You can customize the appearance of the shopping cart by changing the icon, its layout and border, setting its position on the page and all these – with no coding required.
To configure the Shopping cart design:
- In your Wix Website Editor > Pages menu select the page where your Netcash Shop is installed.
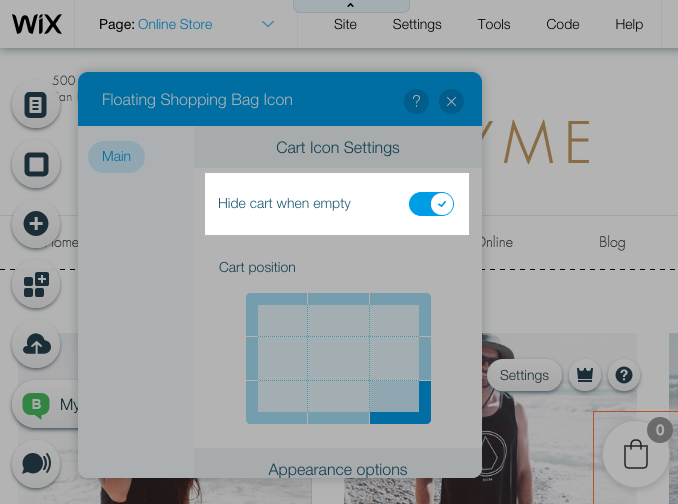
- Click on the Shopping cart icon and then – on the Settings button.
- Enable the option Hide cart when empty, if you want to display the Shopping cart only when customers add something to it. This option is available for the Floating Shopping cart only.
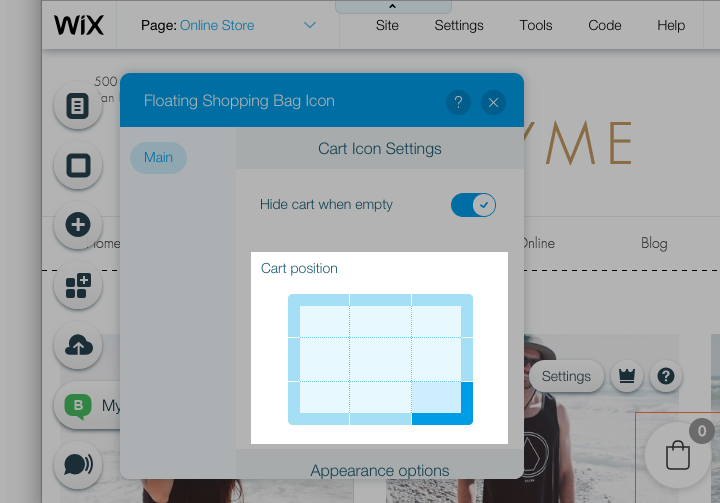
- In the Cart position section select the page corner or side, where the Shopping cart will be displayed. This option is available for the Floating Shopping cart only.
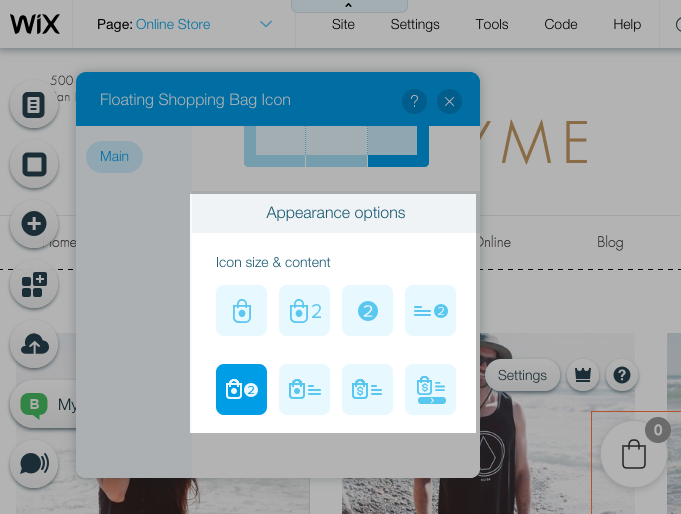
- Under the Appearance options in the section Icon size & content set the icon size and the information it displays. You can choose one from the eight layouts:
- Set the Icon type. You can select a bag, a cart or a basket icon:
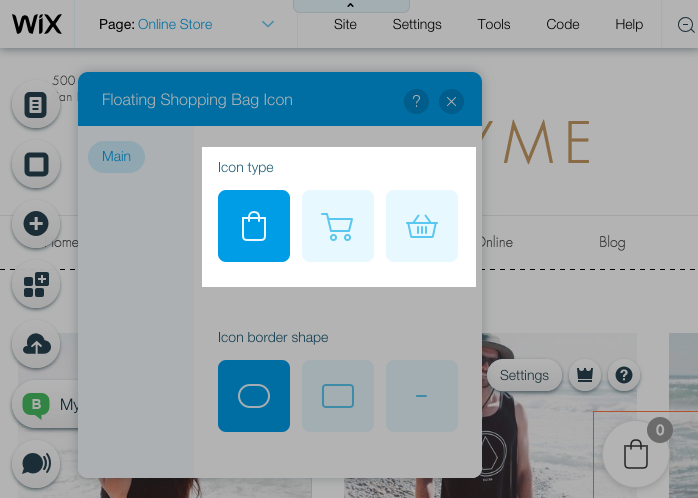
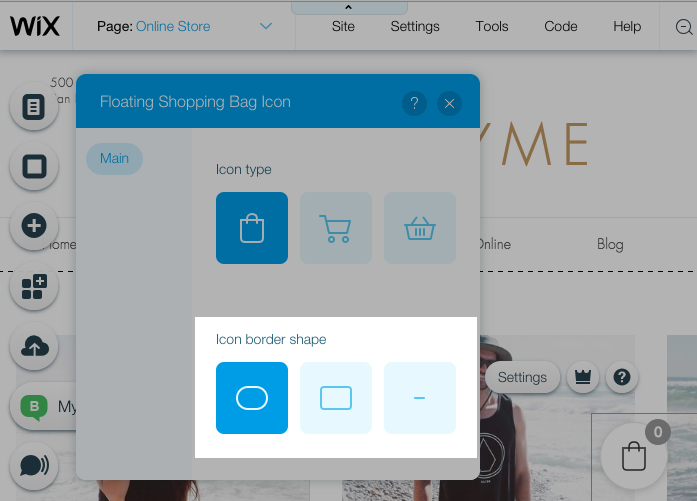
- Select the Icon border shape: pill, rectangle or without border at all.
- When you have finished configuring the Shopping cart appearance, publish your website to apply the changes.