Netcash Shop Instant Site is a free website that you get with your Netcash Shop account. It has a built-in online store so that you can start selling right away.
Instant Site consists of customizable blocks that allow you to easily build an attractive and functional website. You can add new blocks from the library, remove/hide the blocks that don’t work for you, and arrange the sections in the desired order. You can also easily change the content and design of the blocks to match your needs and reflect your brand. The website of your online store will have responsive design that looks great on desktop, tablet, and mobile.
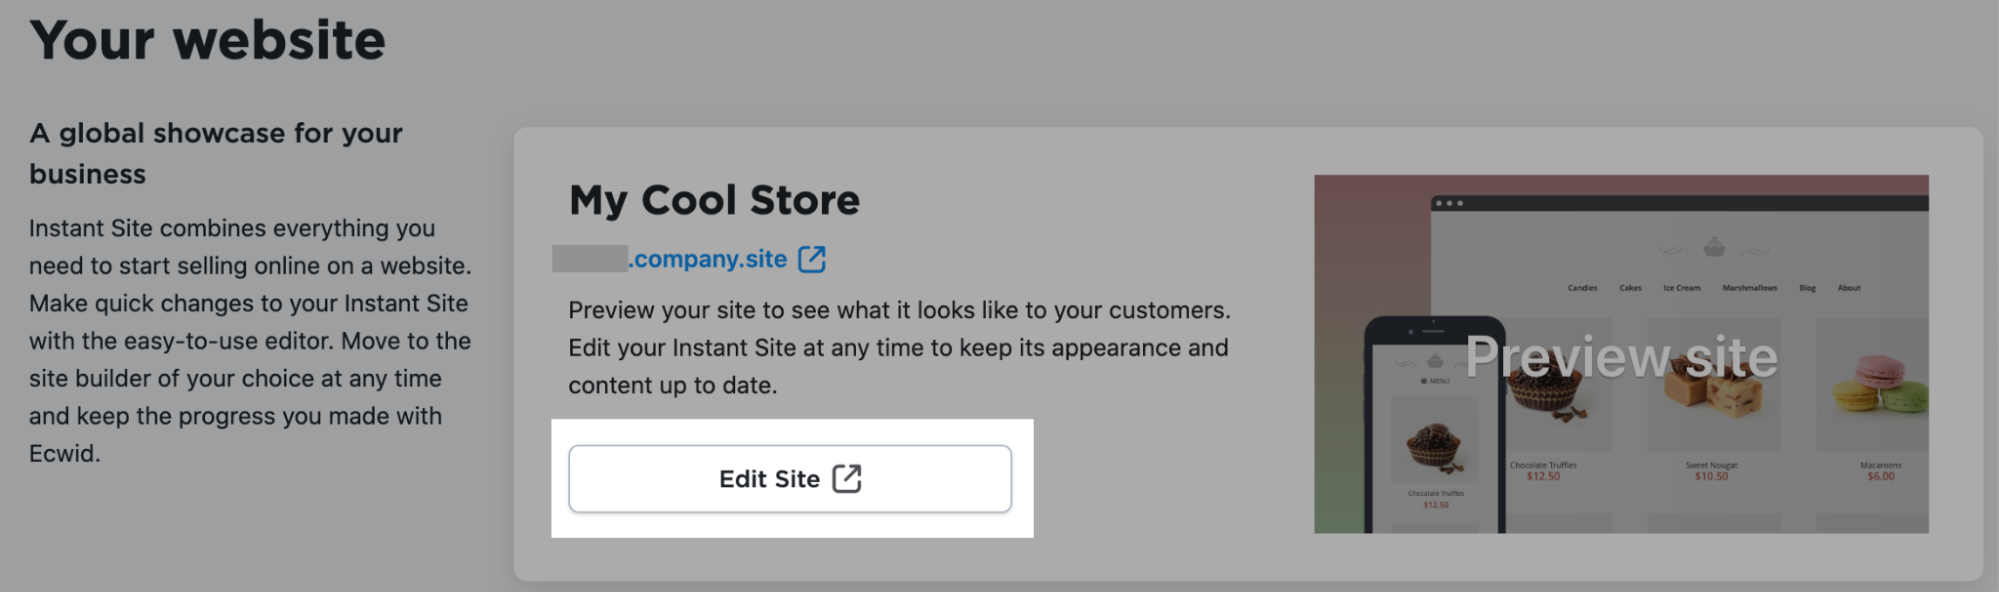
To edit your Instant Site content and design, go to Overview > Manage Instant Site in your Shop admin and click the Edit Site button:
Introducing the editing mode
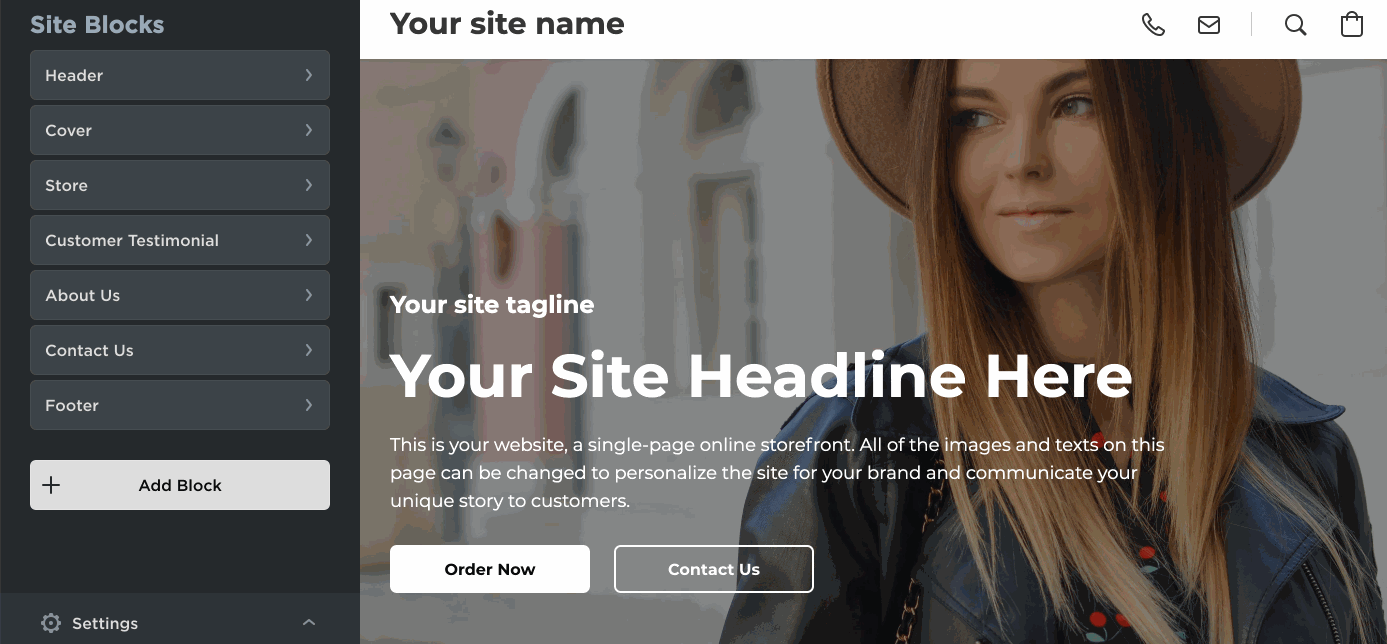
When you open your Instant Site for editing (Overview > Manage Instant Site > Edit Site or Website > Edit Site), you can see the list of Site Blocks that your Instant Site currently consists of.
All these blocks are visible on the Instant Site preview to the right, where they appear in the same order they go in the list:
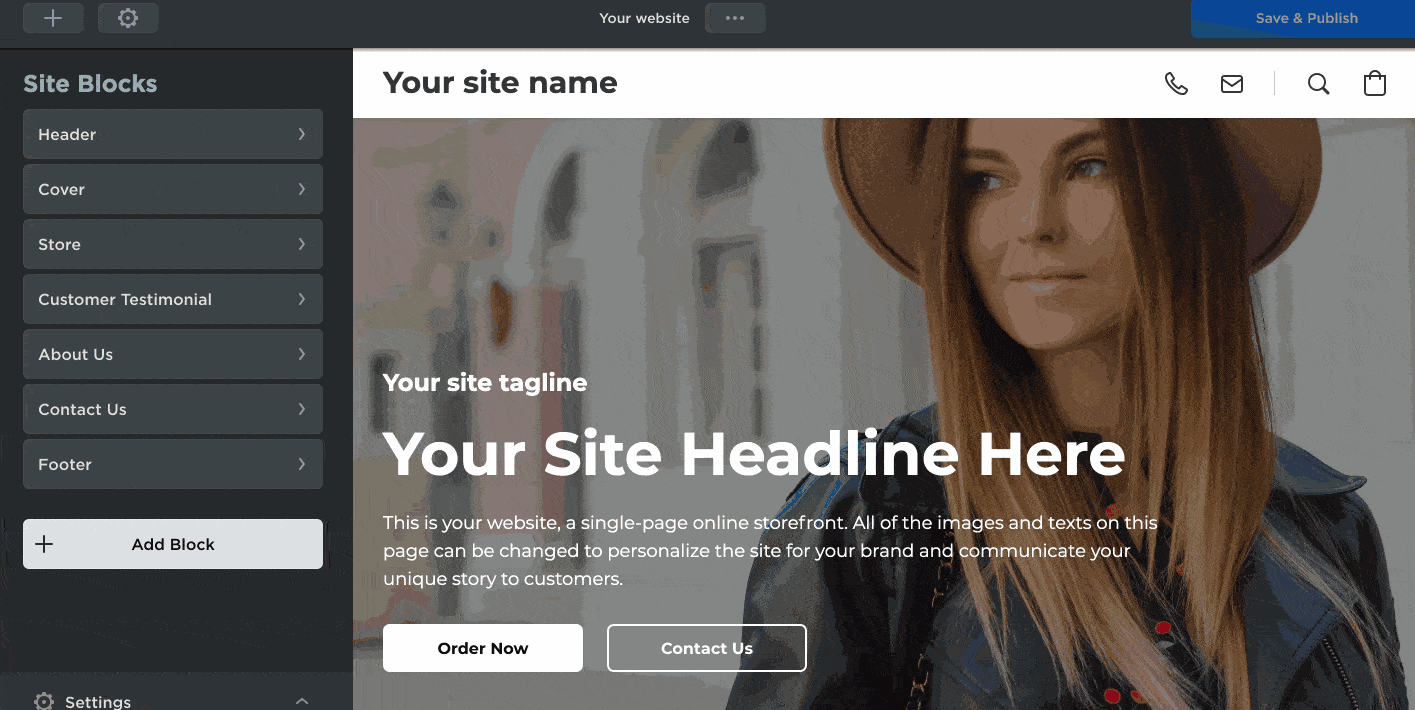
To visit your site on the web and see how it looks on a separate tab, click Your website > Visit Website on top of the Editor.
Adding blocks
If you need extra sections for your website (e.g., a “Special Offer” section, blocks with info on delivery/payment, or an extra “About Us” block) or you want to replace the default block with the one that suits your store better, you can easily add as many new blocks as you like.
To add a block to your Instant Site:
- From your Shop admin, go to Overview > Manage Instant Site > Edit Site (or Website > Edit Site).
- Click Add Block.
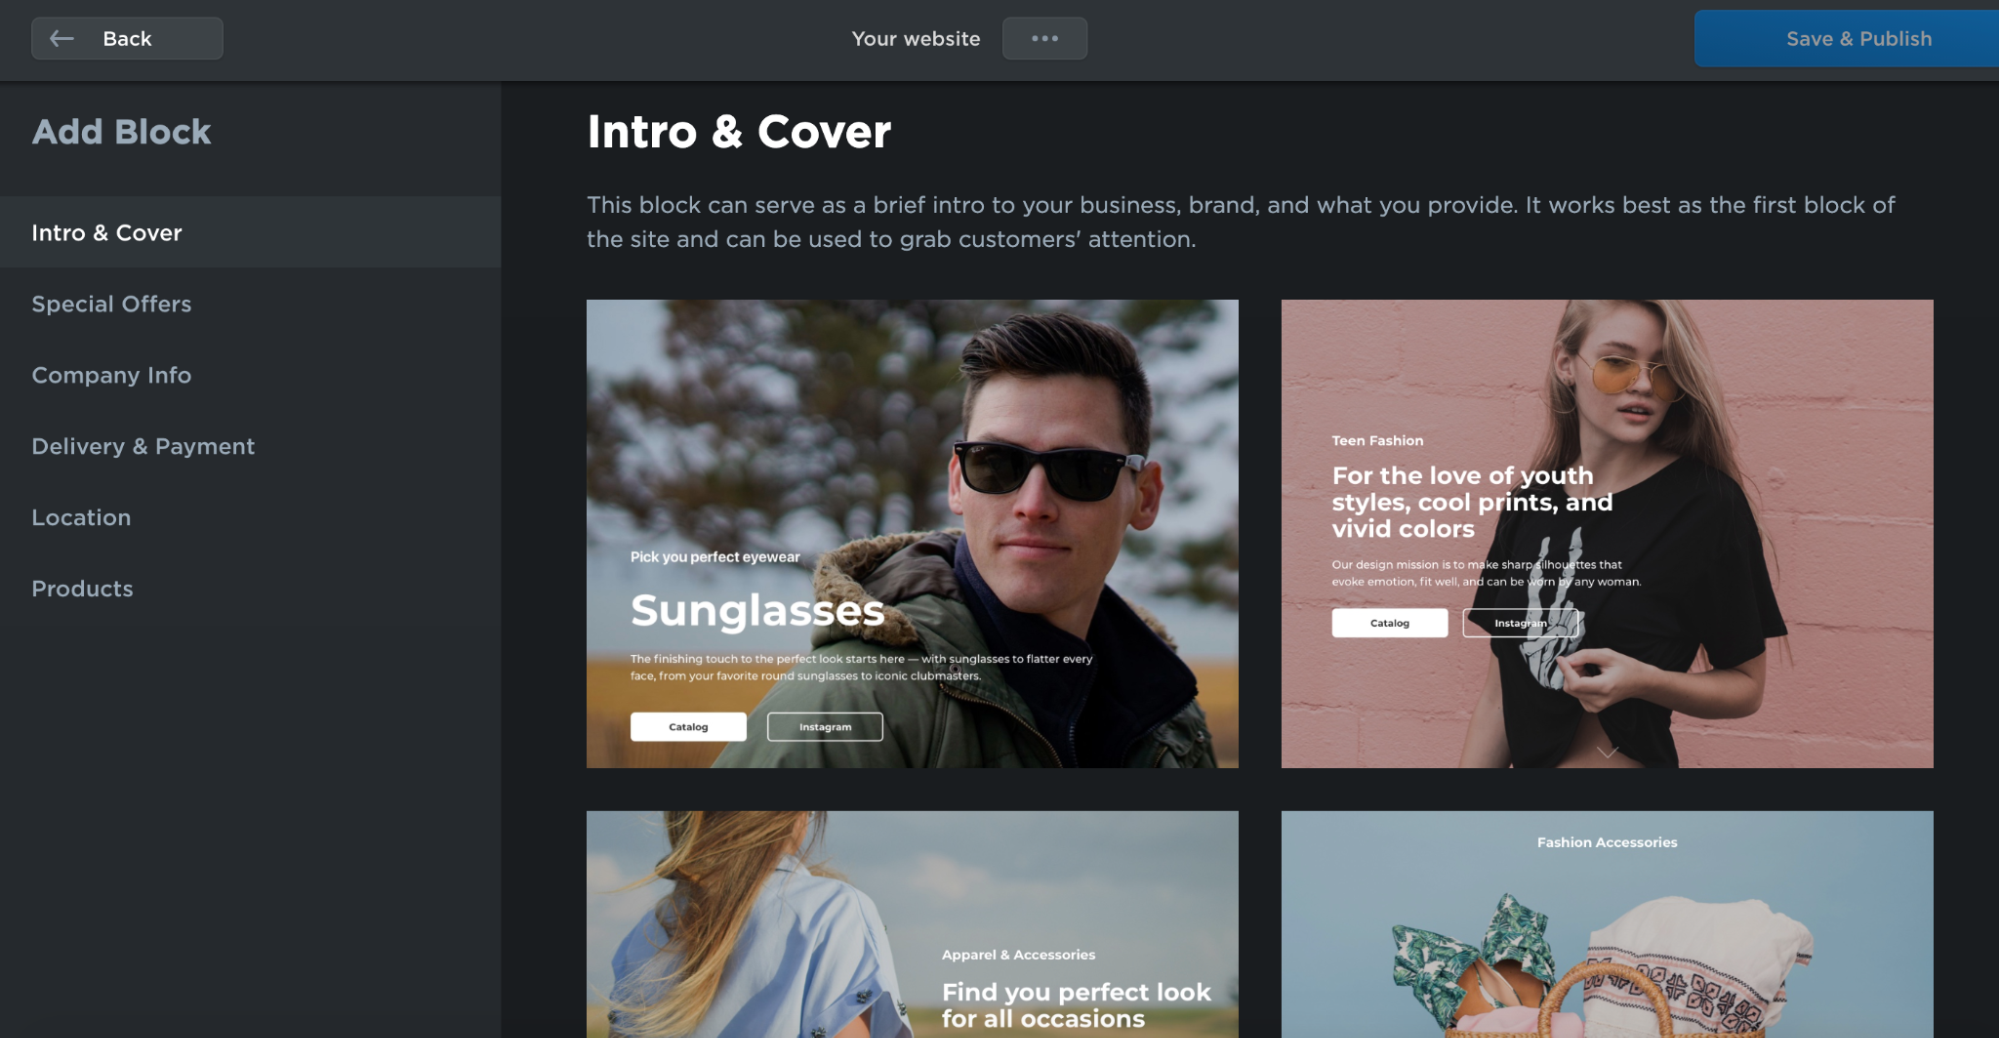
- On the opened page, click the preview of the block you need. The blocks are grouped by their topic:
- Once you click on the block, it will be opened for editing and added to your list of Site Blocks, right before the Footer block.
You can edit block design and content to your liking and change its position on your website. If you have duplicating blocks (e.g., you have added a new Cover block with the layout that appeals to you more), you can always delete the ones that are extra.
Editing blocks
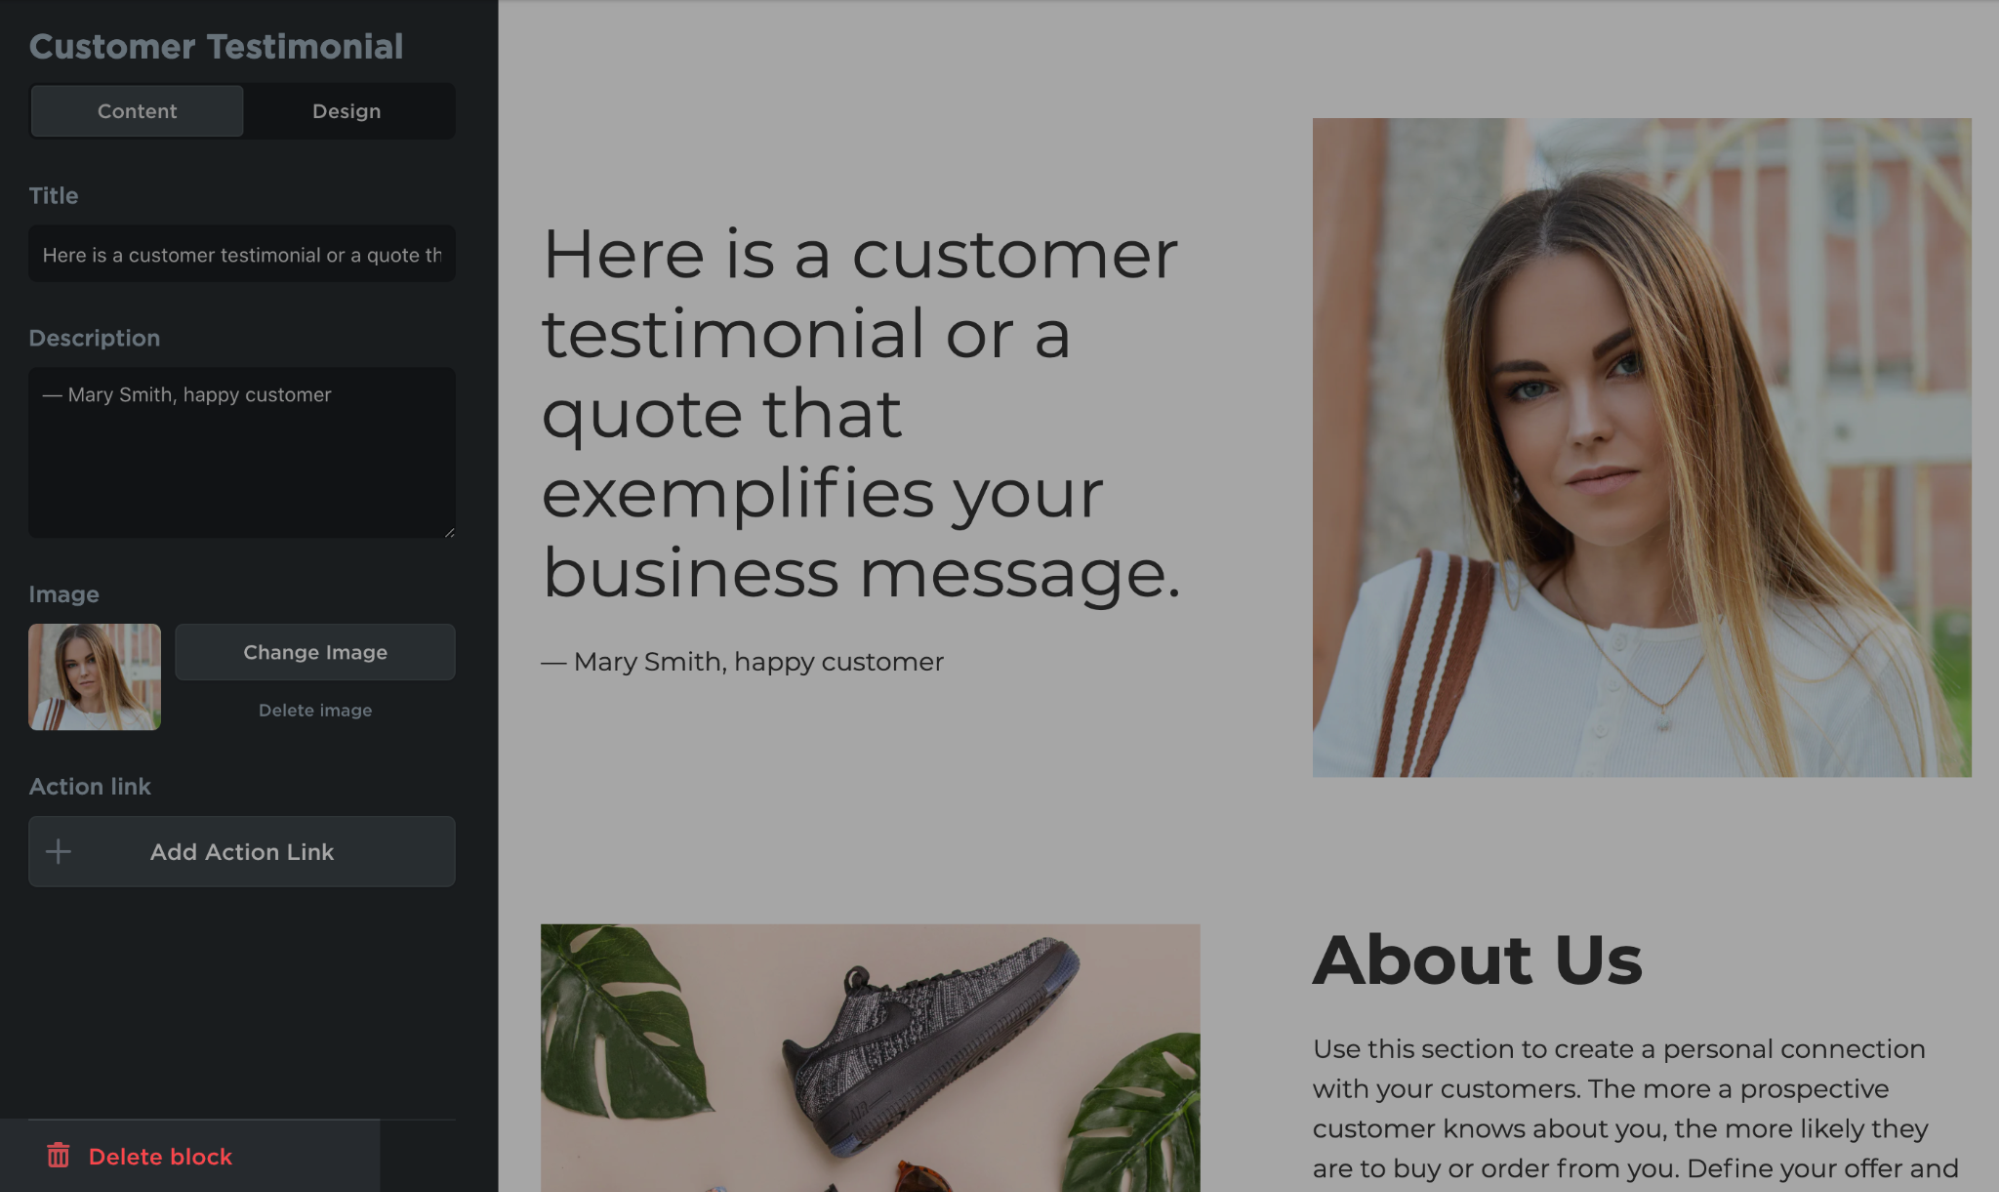
Your website can have the texts, colors, and images that suit your business needs. You can edit the content and design for each of the blocks that are present in the Site Blocks list of the Instant Site Editor. To edit the content of the block:
- From your Netcash Shop admin, go to Overview > Manage Instant Site > Edit Site (or Website > Edit Site).
- Сlick the block.
- On the Content tab, find the element you need.
- Make the necessary changes (change the text, upload a new image, set up action links, etc.)
Pre-entered texts in the block templates contain tips on what to write in the fields. To edit the design of the block:
- From your Shop admin, go to Overview > Manage Instant Site > Edit Site (or Website > Edit Site).
- Сlick the block.
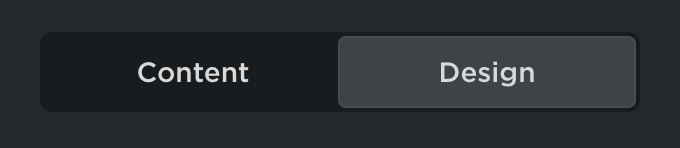
- Switch to the Design tab
- Make the necessary changes (set the block layout – it defines positions of elements in relation to one another, change font/style/color for the elements of this block, set up the background, choose which elements to display, etc.)
You can always go back to the previously saved version of your website by clicking Your website > Discard Changes on top of the Editor. For the changes made on the Design tab of the block, you can also use
the Restore block defaults link at the bottom. Please, note that this link brings back the initial settings of the design template for this block. Blocks with unsaved changes in the Site Blocks list will be marked with a blue dot: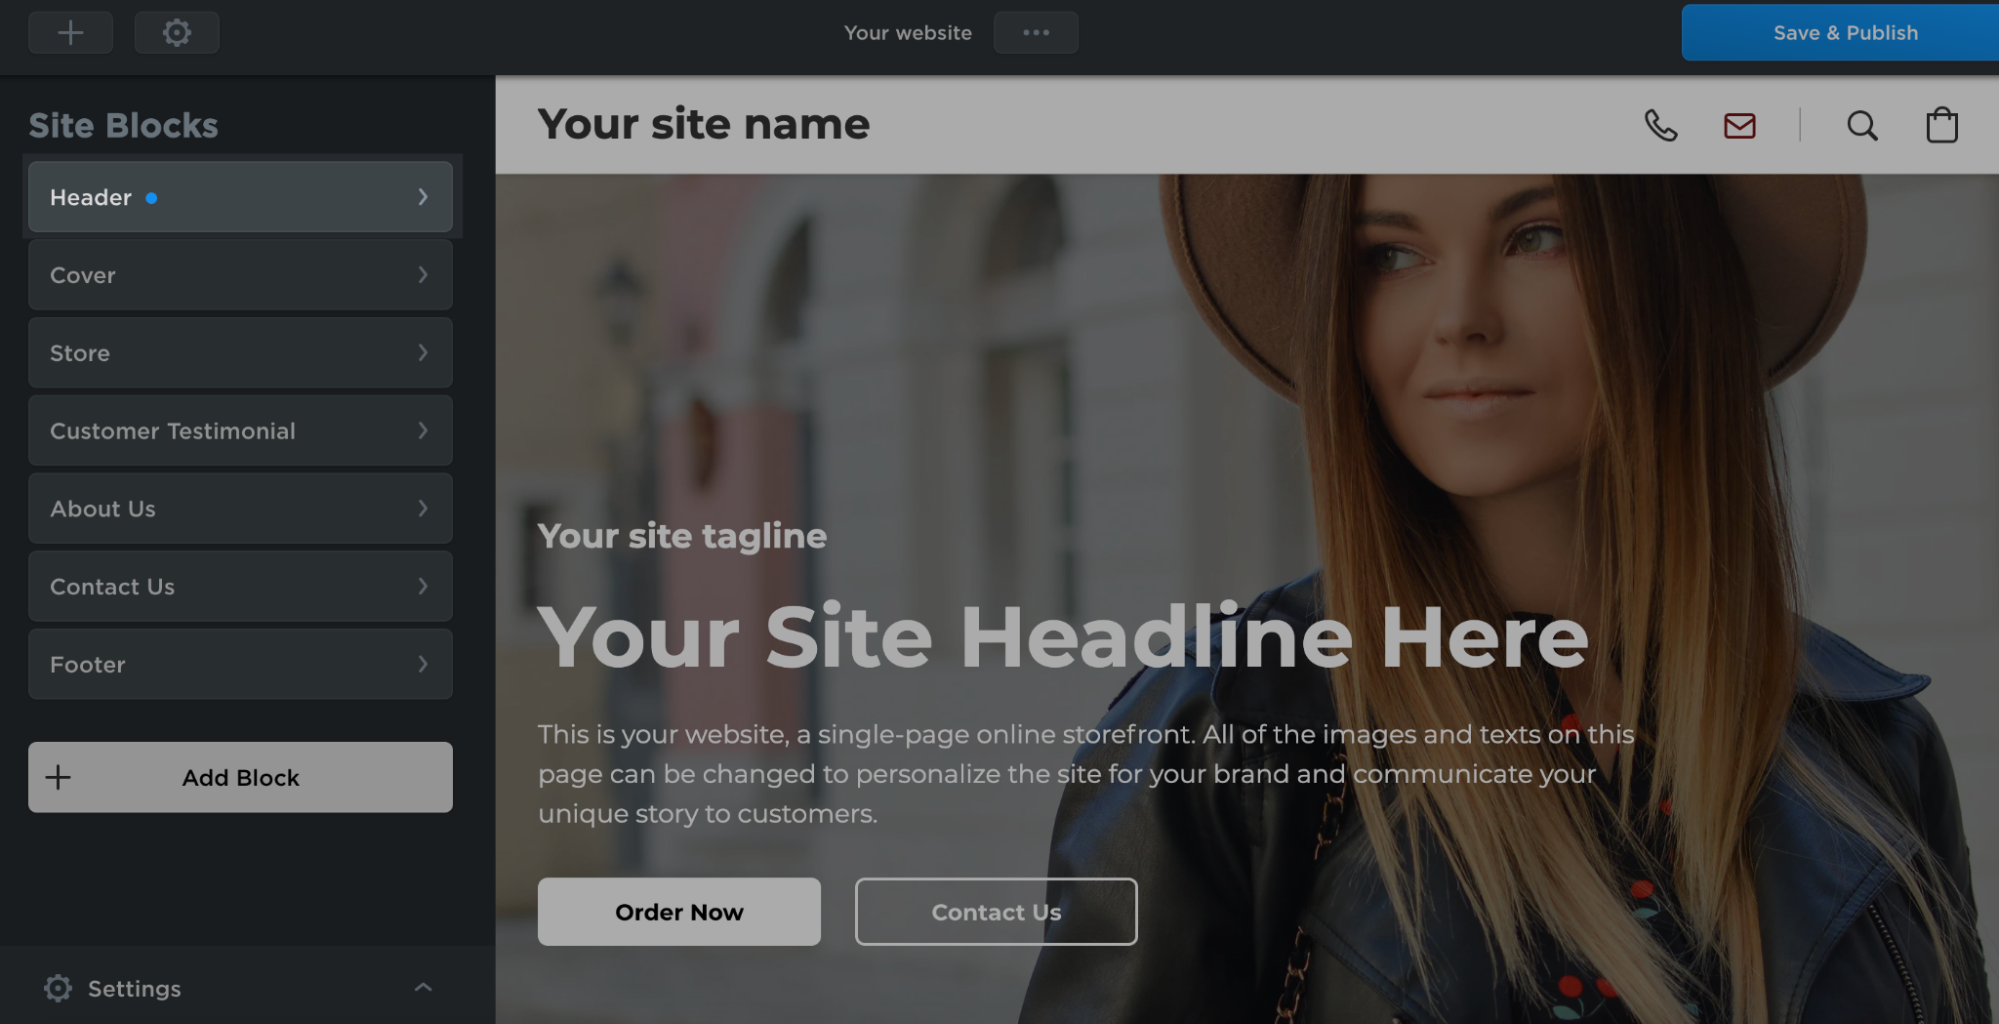
Once you are done editing your website, click the Save & Publish button in the top right corner of the Editor.
Changing the order of blocks
The blocks of your Instant Site are displayed in the order they go in the Site Blocks list of the Instant Site Editor (Overview > Manage Instant Site > Edit Site). You can change the order of sections in the desired way. For this, click Settings > Reorder Blocks. After you do that, you will be able to drag and drop your Instant Site sections:
You can change the order of all the blocks except for Header and Footer – these are always the first and the last blocks of your website.
Deleting blocks
You can delete a section from the Site Blocks list if you don’t need it on your Instant Site. For example, you are just setting up your store and don’t have a Customer Testimonial to feature yet, or your business is seasonal, and you don’t need the Store block at the moment.
To remove a block from your Instant Site:
- From your Netcash Shop admin, go to Overview > Manage Instant Site > Edit Site (or Website > Edit Site).
- Сlick the block.
- Scroll down and click Delete block at the bottom:
If you need this block on your website later, you can always add similar blocks from the library.
If you have deleted the Customer Testimonial block and want to add it back, choose any similar block from the list and modify it according to your needs. You can also have additional testimonials on your website this way. You cannot delete the Header and Footer blocks, but it’s possible to disable them so that they are not displayed on the website. To do this, click the corresponding block in the Editor, then scroll down and disable the Show footer or Show header toggles at the bottom. You can always enable them back later.
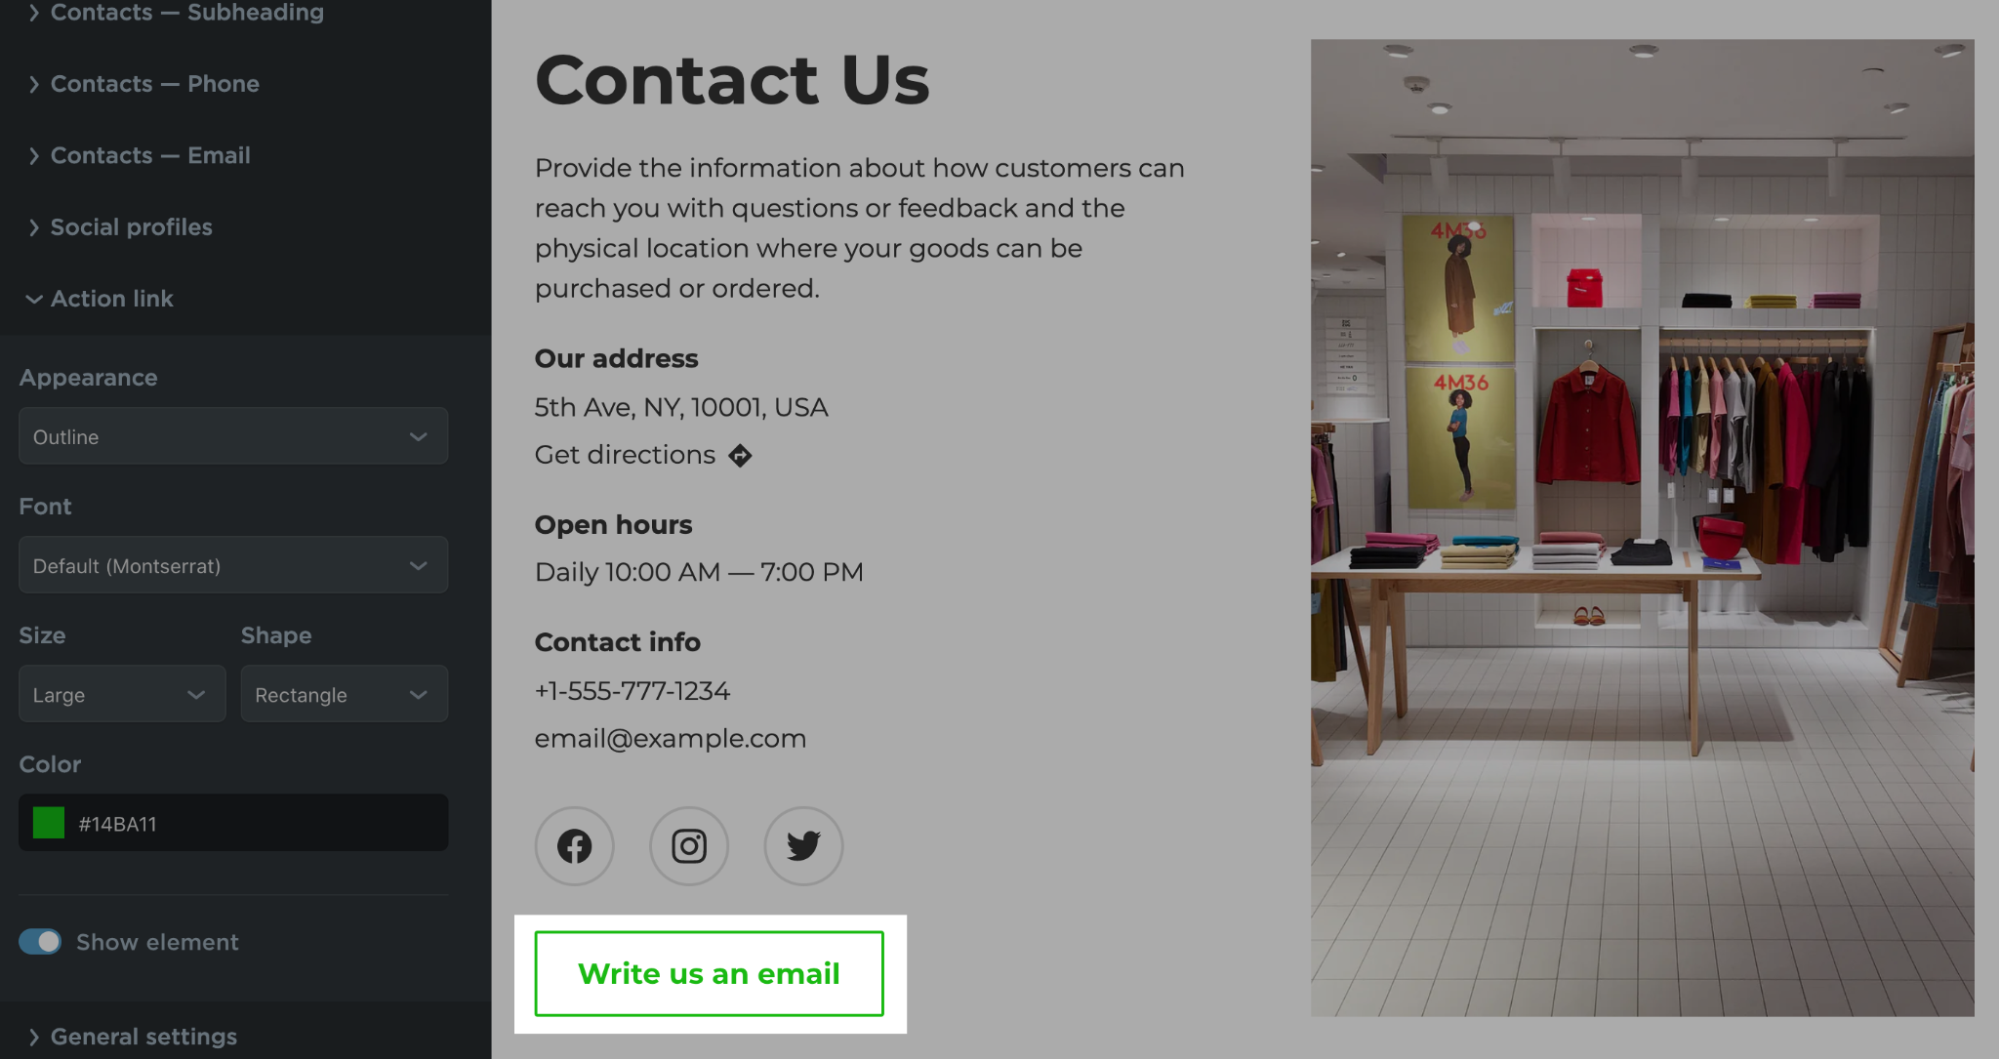
Adding action links
For some sections of your Instant Site (e.g., site cover, testimonial, or the “Contact Us” block) it is possible to add action links. Action links are clickable texts or buttons with text. When a customer clicks this text (or button), a certain action is performed.
For example, you can specify a product URL that will open upon click or scroll customers to a specific section of your website (e.g., when there is a sale).
To set up an action link:
- From your Netcash Shop admin, go to Overview > Manage Instant Site > Edit Site (or Website > Edit Site).
- Сlick the block.
- On the Content tab of the block, click Add Action Link.
Cover block has Primary action and Secondary action buttons instead. - Enter Title. This will be the text of your link.
- Choose Action on click: Scroll to site block, Open page, Compose email or Call phone.
- Choose the site block/enter URL/enter email or phone number.
- (optional) Change the appearance, font, size, shape, and color of the action link on the Design tab.
Example design of an action link for an email in the “Contact Us” block:
Configuring the Store block layout
The Store block shows your customers where to access the store on your Instant Site. It serves as a preview of your actual store and is, in a way, its substitute. You can change this tile’s look to your liking, independent of your storefront design.
To change the Store block layout:
- From your Netcash Shop admin, go to Overview > Manage Instant Site > Edit Site (or Website > Edit Site).
- Click the Store block.
- Make the necessary changes on the Content and Design tabs (set the product section heading, change the design of your product list and “Buy now” buttons, choose which elements to display, etc.)
To change your storefront appearance (how it looks outside this tile on the front page of your Instant Site), you should go to the Design page in your Shop admin.
Changing website address and store name
You can edit the name and address of your store website so that they reflect the concept and name of your brand.
To edit the name of your website:
- From your Netcash Shop admin, go to Settings > General > Store profile.
- Enter the store name into the Store name field in the Store name and web address section.
- Click Save.
To edit the address of your website:
- From your Netcash Shop admin, go to Website > Site address.
- Click the Change Address button.
- Enter the name you prefer for your web address into the Use our subdomain field.
- Click Save.
On the Netcash Shop paid plans, you can also connect your own domain.
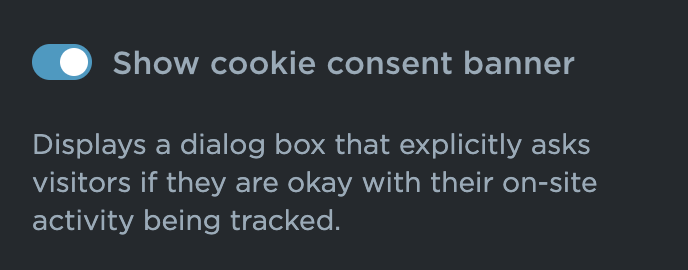
Showing the cookie consent banner
In countries like the EU, you might need to show the cookie consent banner on your store website. To display it, go to Settings > Tracking & Analytics in the Instant Site Editor (Overview > Manage Instant Site > Edit Site) and enable the Show cookie consent banner toggle:
This toggle enables the cookie consent banner only on your Instant Site. You can also enable the banner to show it on your store pages.