1. Home
  2. Docs
  3. Sales channels
  4. WordPress
  5. Customizing Netcash Shop design on a WordPress site

Customizing Netcash Shop design on a WordPress site

When you add Netcash Shop to a WordPress site, Netcash Shop adapts its design to match the website. The storefront automatically inherits fonts and colors of your WordPress website for a seamless blend. This feature comes by default and is available for all Netcash Shop accounts.

You may also customize the store design using block settings, themes, or CSS codes. All these options help to display products according to your design preferences: choose the aspect ratio that will fit your product images, select what info you want to show on store pages, set colors for buttons, links, texts, etc.

Before you start, make sure your WordPress Dashboard and the Netcash Shop plugins are updated to the latest versions to access all the design settings described in this article. To check the updates, go to the WordPress Admin Panel > Plugins.

Design settings on a WordPress site

We recommend adding Netcash Shop to a WordPress website using our official E-commerce Shopping Cart plugin available in the Netcash Shop admin panel. With the plugin, you can easily add the store and certain products to different website pages, change the design of the store on each page separately, add store widgets (shopping cart icon, search box, etc.) and much more.

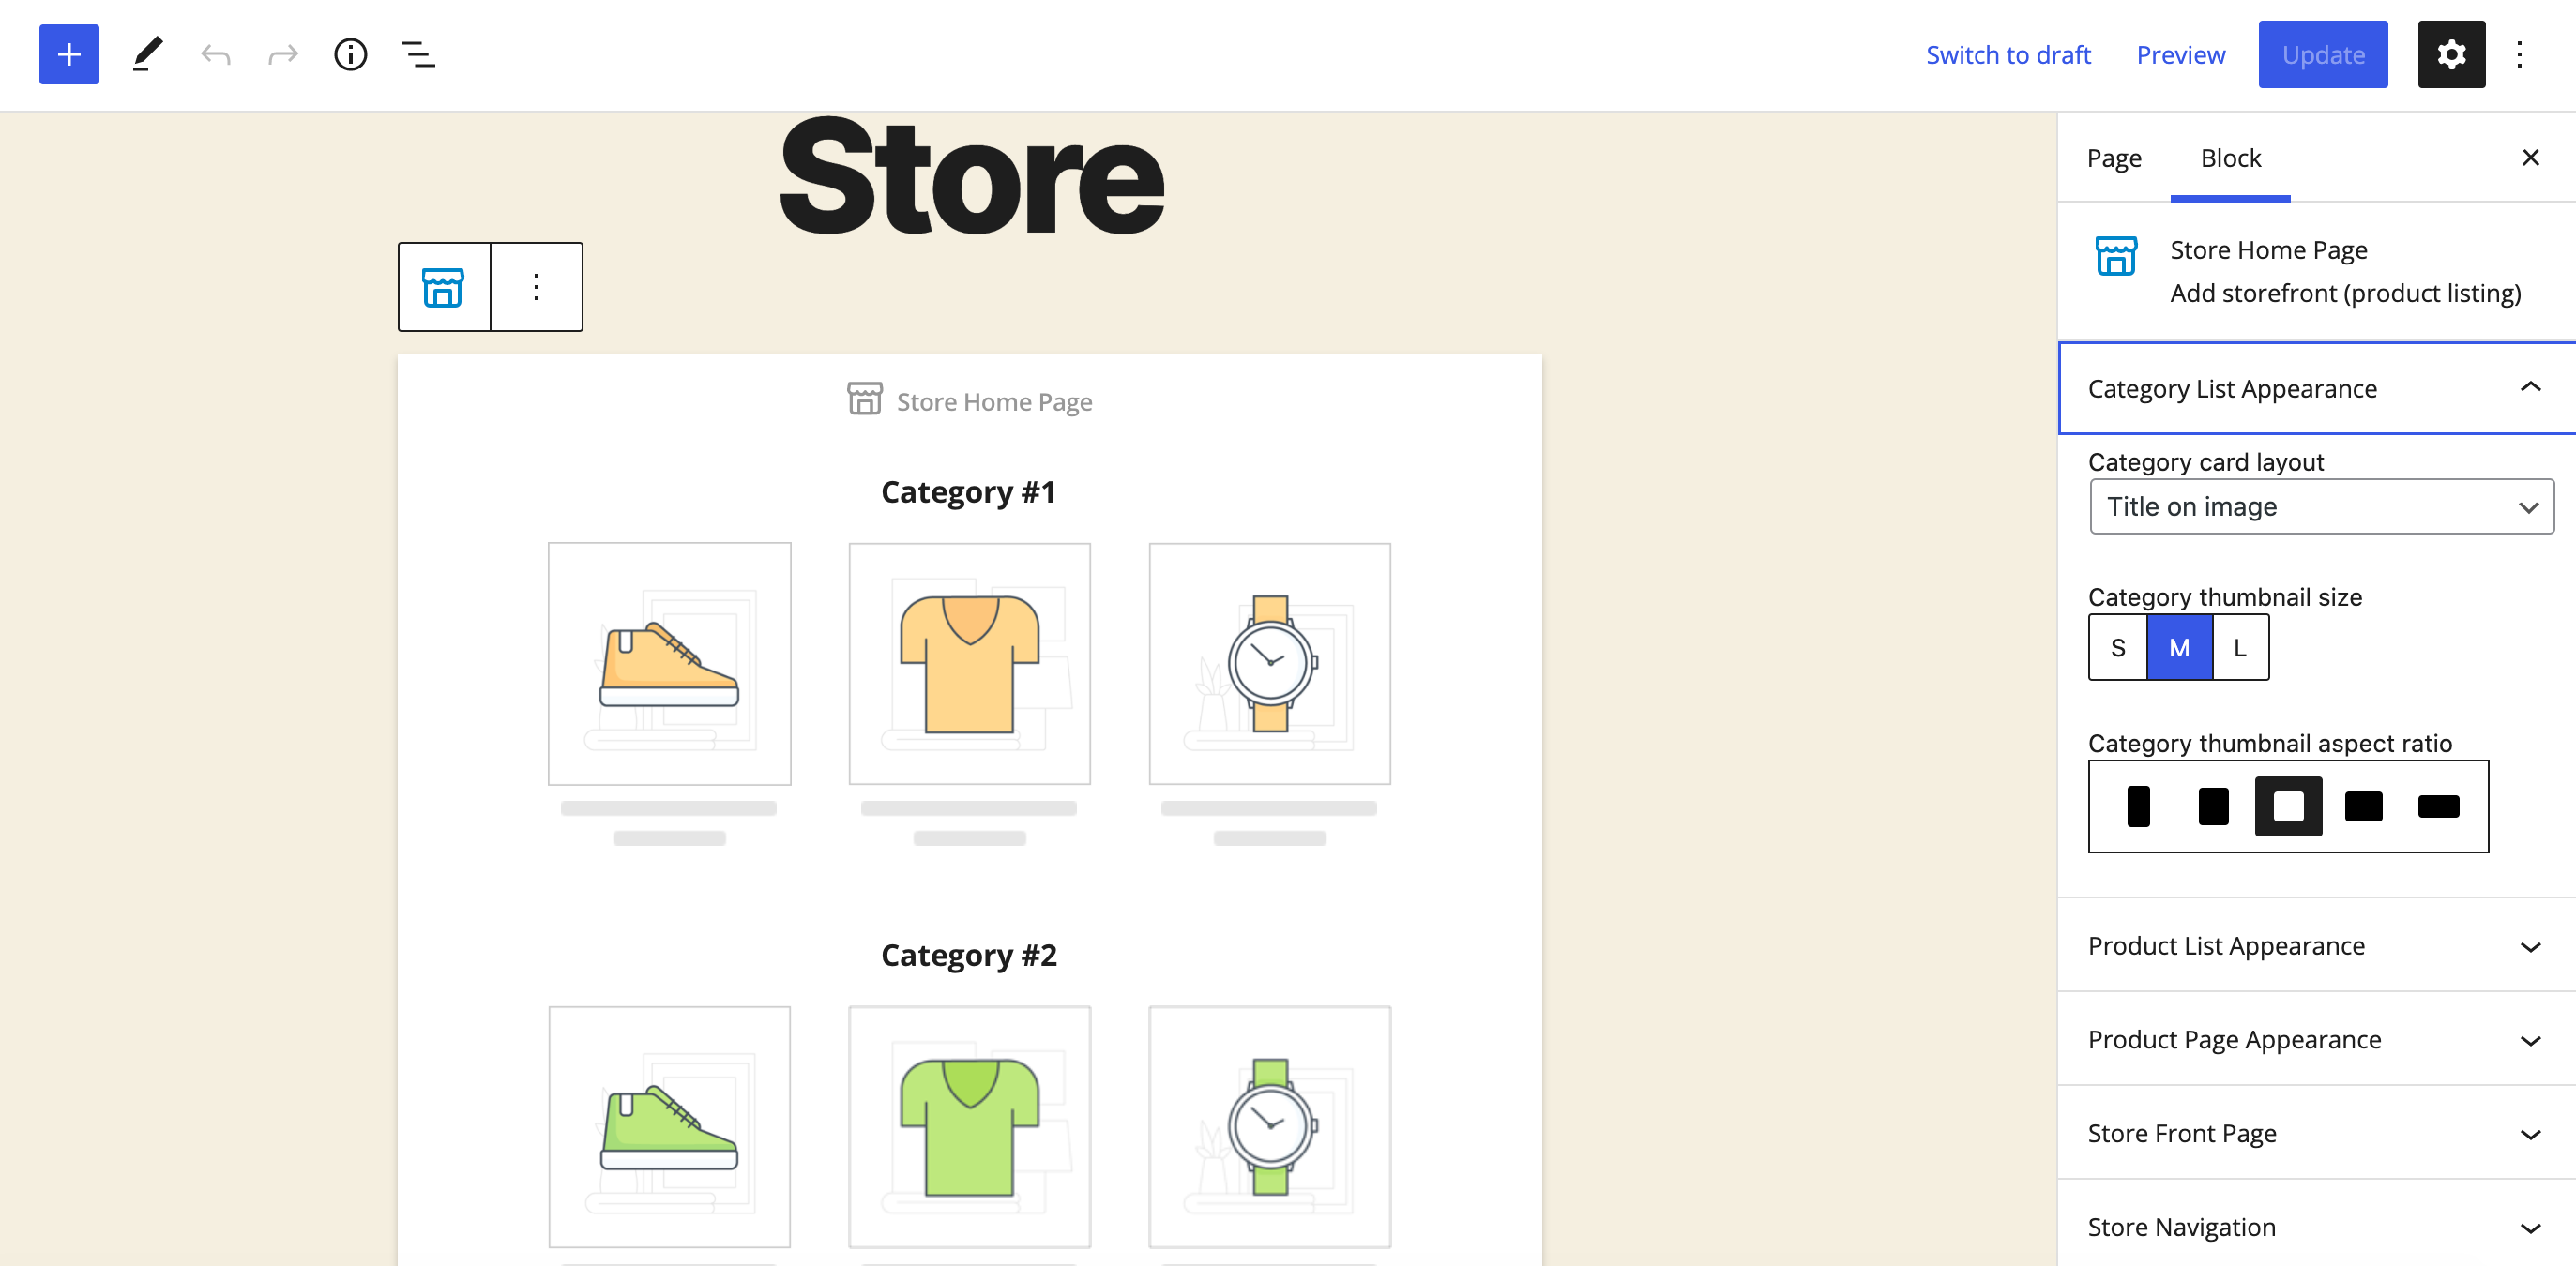
Long story short, you may customize store design in the block settings where you added Netcash Shop:

Here is the general path to change store design on WordPress:

  1. Go to WordPress Dashboard > Pages and open the page with the store.
  2. Click on the block with the store. On the right side, you will see the block’s settings.
  3. Change the settings in the block up to your liking.
  4. Click Preview to see what the store will look like with the new settings.
  5. Click Update to save the changes.
It’s important that you change the design as described above, in the block’s settings. If you change store design settings in the Design tab directly in your Netcash Shop admin, these settings won’t reflect on your website as they will be overwritten by the block’s settings.
 
In the block’s settings, you can change:
  • What content will show on category and product pages: product title, SKU, price, etc.
  • Select what store navigation links will display: breadcrumbs, sign in link, etc.
  • Set a size and aspect ratio for categories and product thumbnails.
  • Choose colors for buttons, texts, links, background, and price.
  • And a lot of other settings that you will find in the block’s section.
Block settings apply only within a specific block. If you want to have a different design for different categories of products, add them to separate pages and edit the design in each store block.

Design of shopping cart icon

Customers use the shopping cart icon to complete their purchase. When you add Netcash Shop to WordPress, a shopping cart icon is added by default in the right bottom corner.

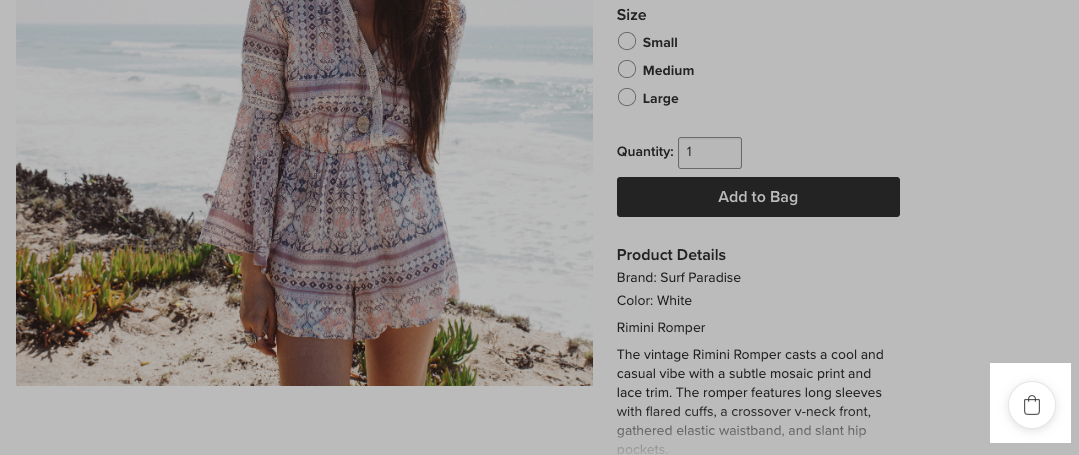
You can change its position, select whether you want to display the number of items/subtotal in the cart, set a border, and choose an icon.

If you have the cart icon in another place on the website (for instance, the header), you can remove this cart widget added by default and provide customers with one cart.

To change the appearance of the shopping cart icon:

  1. Go to your WordPress Dashboard > Appearance > Customize.
  2. Click on the plugin in the sidebar menu > Shopping cart widget.
  3. Play around with the cart widget settings. The cart widget appearance changes in the preview as you choose new settings.
  4. Once you find your preferred view, click Publish.
To hide the shopping cart widget that is added by default, select “Do not show” in the first design option called Display shopping cart. If you want to emphasize your store to all site visitors, select “Show on all pages”. The cart icon conveys the site has a store.

Custom CSS codes

You can use CSS codes to make otherwise unavailable customizations. Let’s say you want to move the footer icons (“Track orders”, “Favourites”, “Sign in”, and “Shopping bag”) to the top of the storefront. There is no built-in setting to change this, but you can use a CSS code. You should add custom CSS codes for Netcash Shop in WordPress settings.

To add a CSS code to your WordPress website:

  1. Go to your WordPress Dashboard > Appearance > Customize.
  2. In the left sidebar, click Additional CSS.
  3. Add your CSS codes to the field.
  4. Publish the changes.

This way you can add CSS codes for your WordPress website and for Netcash Shop as well.

If you can’t find or make the right CSS code for your customization, our team develops custom solutions for Netcash Shop users. Contact our Customization Team for a quote.

Design themes for WordPress

Netcash Shop is compatible with any WordPress theme. This includes free themes from WordPress, premium themes from a third-party vendor, or custom-made themes.

Netcash Shop has a built-in tool that matches your store design and WordPress theme. Whatever theme you use, Netcash Shop will detect your site’s color scheme (taken from the text, links, background, and buttons) and automatically use it in the store design.

If you have yet to decide on a WordPress theme, have a look at these themes:

You can improve your store’s design by creating sliders. WordPress has a great plugin for this. Smart Slider 3 is a powerful tool for creating sliders with a user-friendly interface and lots of customization options.

FAQ

My WordPress editor doesn’t show any block settings for the store

You’ve read the instructions above, but can’t find the same store settings in your WordPress editor? There are two possible explanations for why this may happen:

  1. You are using the old version of WordPress.
    Solution: Update your WordPress to the latest version. Also, make sure that your Netcash Shop plugin is up to date: go to the WordPress Admin Panel → Plugins → Installed plugins → E-commerce Shopping Cart. Click Update if you see that a new plugin version is available for you.
  2. You added the store to your website before the WordPress block editor (also known as Gutenberg) was introduced.
    Solution: Update your WordPress to the latest version, remove the store, and then add it again. Follow the instructions on how to add Netcash Shop to a WordPress site.

Nothing helped? Contact us. We’ll help you sort things out.

Changes in store design do not reflect on the website

This can happen if you change design settings directly in your Netcash Shop admin > Design. These changes won’t reflect on your WordPress website as they are overwritten by the design settings in the store block.

You must modify your store design in the WordPress editor using the block settings where the store is located. See the instructions here: Design settings on a WordPress site.

Can I set different designs for different categories of products?

Yes, you can have different designs if you add your store to WordPress using the Netcash Shop plugin. Here is how to set different designs for store categories on different WordPress website pages:

  1. Assign products to categories if you haven’t done so yet.
  2. Add categories of products to different website pages.
  3. Change the store design of each block.

Since design changes apply only to the store block where you set them, you can have store categories on different website pages that look different.